Hotline: 16297 (9.00 AM to 11.00 PM)
Hotline: 16297 (9.00 AM to 11.00 PM)
 1 user want this item!



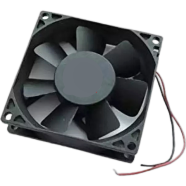
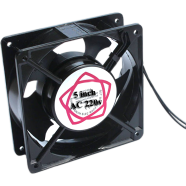
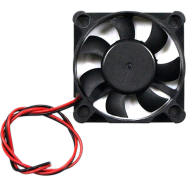
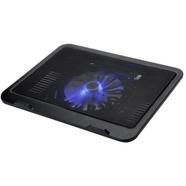
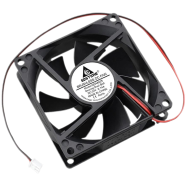

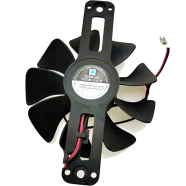
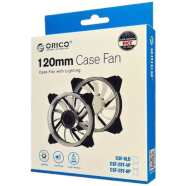
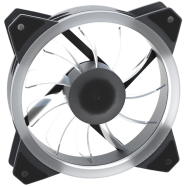
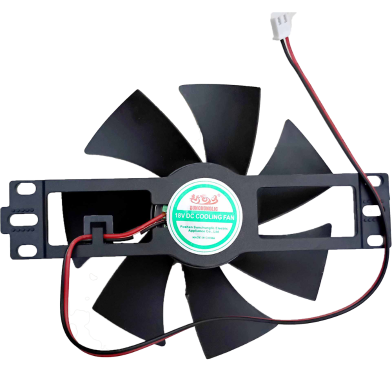
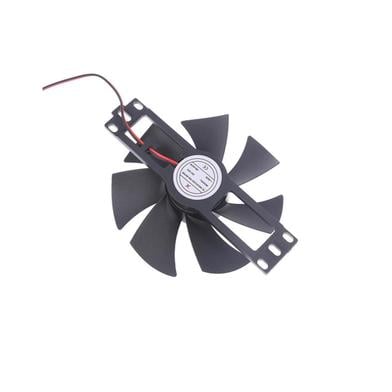
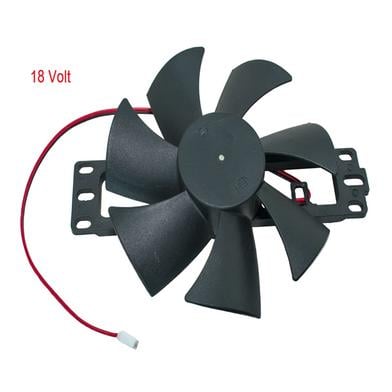
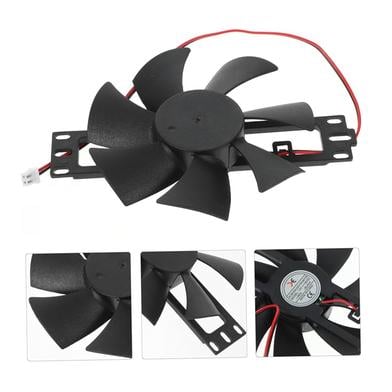
| Name | Brushless Cooling Fan 18 volt DC Big Size With Jst Connector for Induction Heater or Cooke |
| Category | CPU Cooler |
| Material | Metal, Plastic |
| Warranty Period | No Warranty |
| Country of Origin | China |
| Number of Blades | 6 |
| Features | Induction Fan |
| Power supply | DC |
| Made In | China |
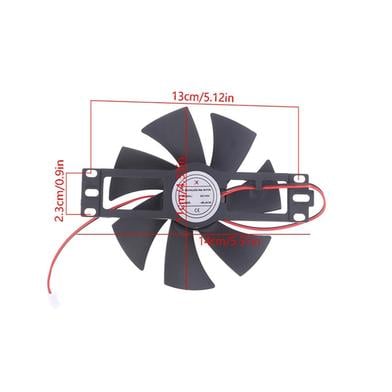
| Dimensions | 128x128x25mm |
| Type of Motor | DC |
| Voltage | 18 volt DC |
| Weight | 80g |
| Company | Non-Brand |
| Weight | 0.09 Kg |
With an 18V DC power draw, the 18V DC Brushless Cooling Fan for Induction Cooker exhausts heat from internal copper coils. An axial motor maintains 1500 RPM to prevent thermal shutdown during high-heat cooking. Standard JST 2-pin wiring fits most common local induction stove motherboards.
The motor operates on an 18V DC power supply. This voltage matches the standard output from most induction stove control boards.
Disconnect the JST plug from the motherboard and remove the mounting screws. Seat the new fan and reconnect the 2-pin terminal to restore airflow.
Report incorrect information
0 Ratings and 0 Reviews

Customer Care:
Hotline: 16297 (9 AM to 8 PM, Saturday to Thursday)
[email protected]

Become a seller:
[email protected]

Corporate Sales:
01708166238 (Whatsapp)
[email protected]

Retailer:
01708166185 (Whatsapp)
[email protected]

Address:
2/1/E, Eden Center, Arambag, Motijheel, Dhaka-1000

Email Us:
[email protected]


© 2012-2026 Rokomari.com